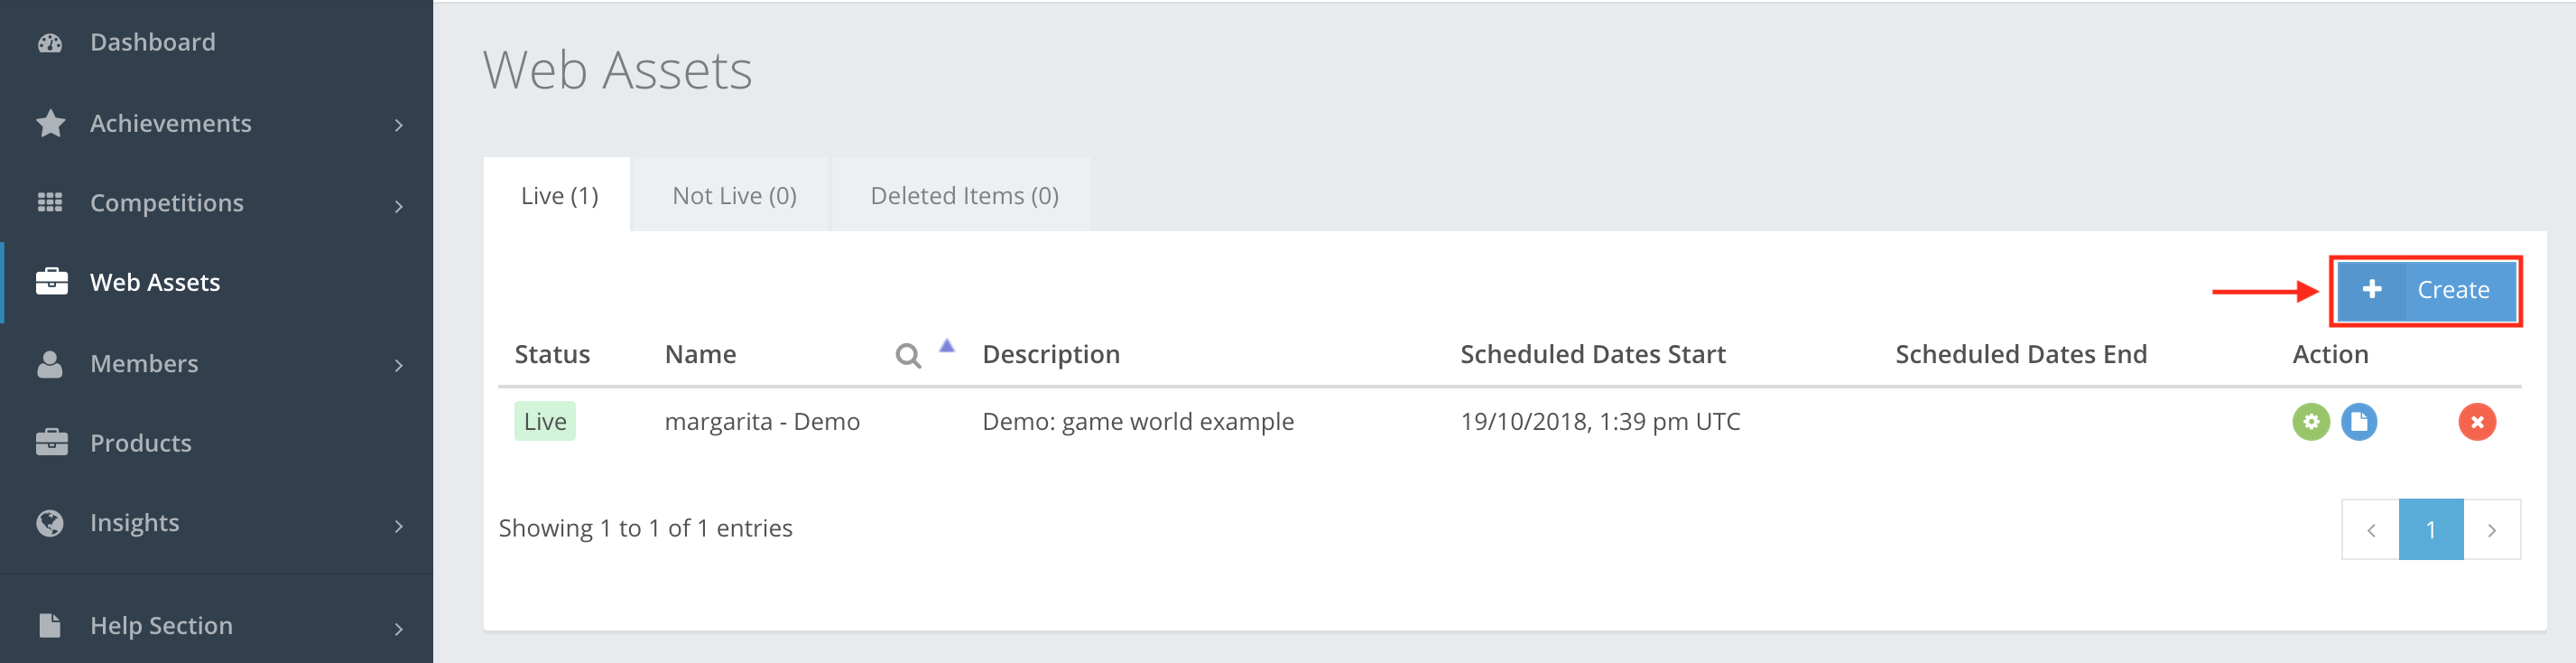
allows you to host public or private web content that can be reused at any time, e.g. widgets, banner images, static Html websites, javascript, etc. Go to Web Assets to see a list of Web Assets that you have created, as shown in the example below. To create a Web Asset, press Create.
Web Assets section Icon action buttons
The icon buttons used in the Web Assets section are:
 Edit – lets you edit the Web Asset, even if it is in Live or Pending state.
 Edit Files – lets you manually upload HTML files.
 Delete – lets you delete the Web asset.
 Create – lets you create a Web asset. Depending on the creation, the web asset is put into the Live or Not Live category.
Web Assets creation
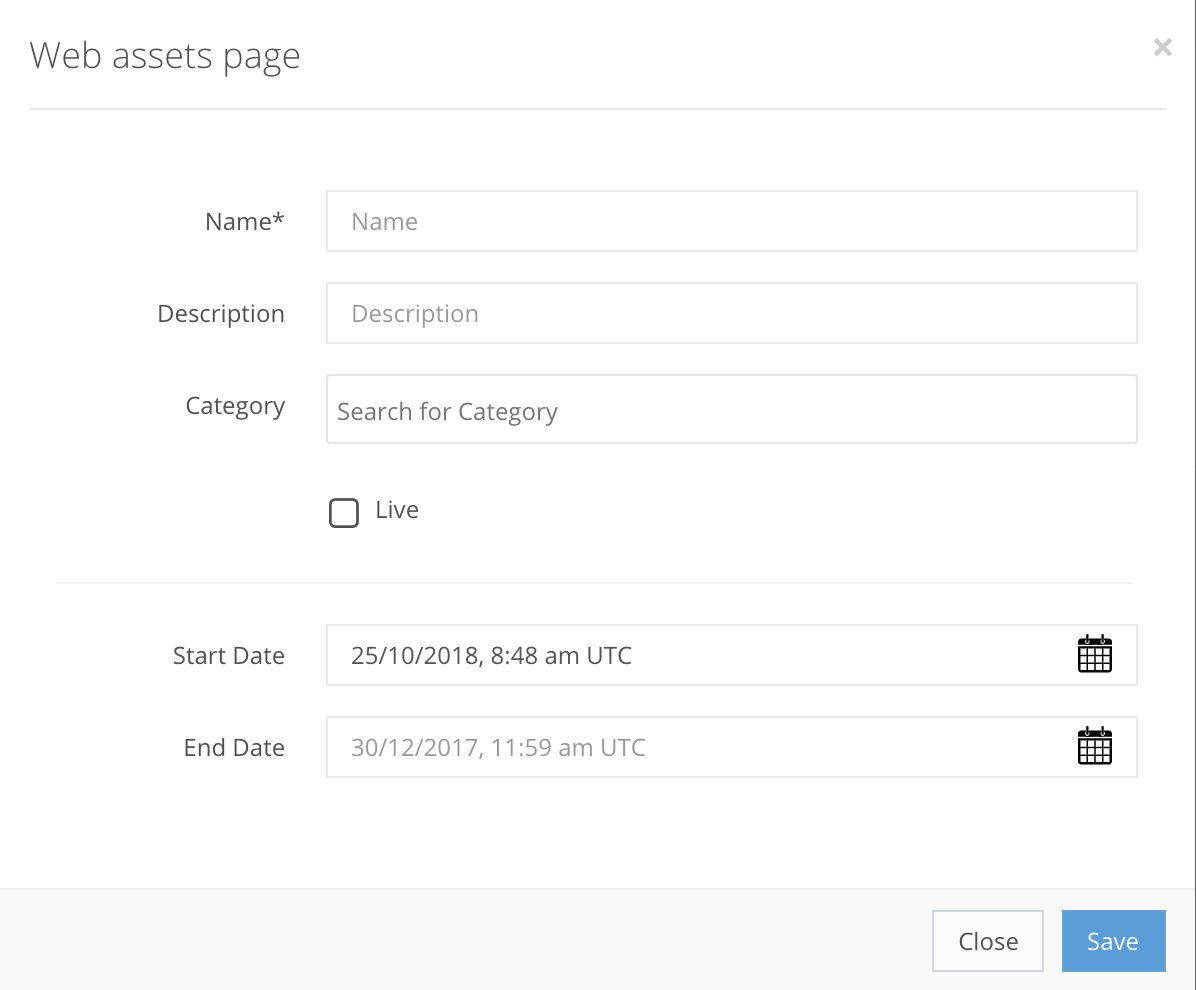
Press Create to get a new pop-up window where you enter the new web assets information, as shown in the example below.
The information that you need to enter to create a Web Asset is documented below. Some fields are mandatory, others are optional.
WEB ASSETS CREATION FIELDS
Name StringIt’s a repository for web application files such as CSS, java script, html.
Description StringAn explanatory field of the Web Assets.
Category StringA Web Asset category name, which lets you filter web assets by category or categories.
Status EnumThe state of the Web Asset, either Live or Pending.
Start Date DateTimeThe date (day/month/year) and UTC time (hour: minute wise) when the Web Asset will start.
End Date DateTimeThe date (day/month/year) and UTC time (hour: minute wise) when the Web Asset will end.
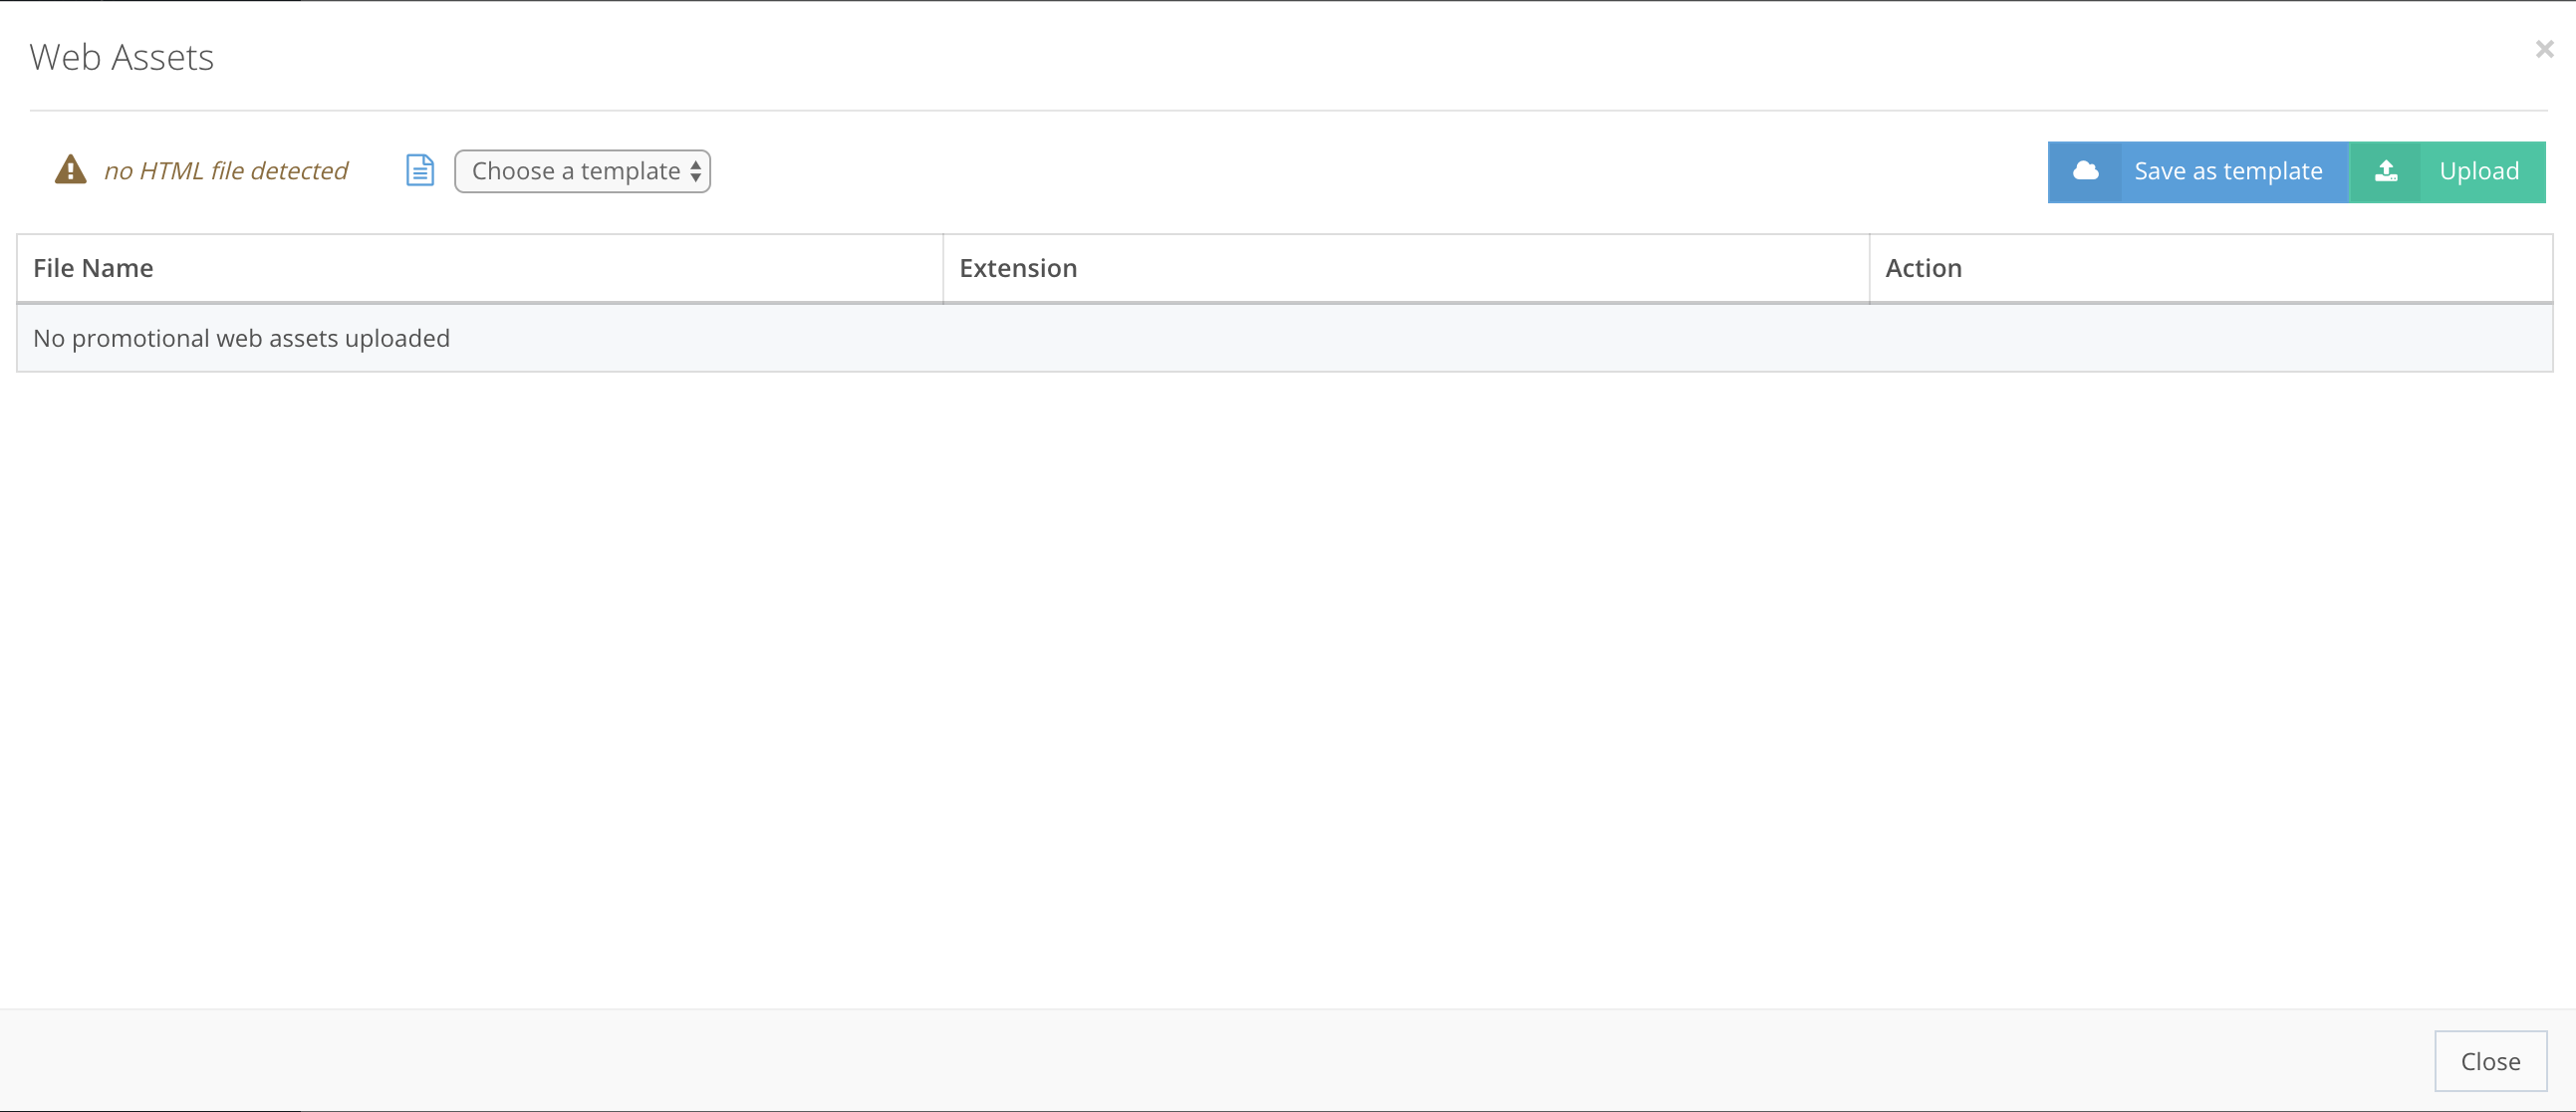
Click Save to get a new pop-up window where you can upload HTML files, and save them as templates for later use.
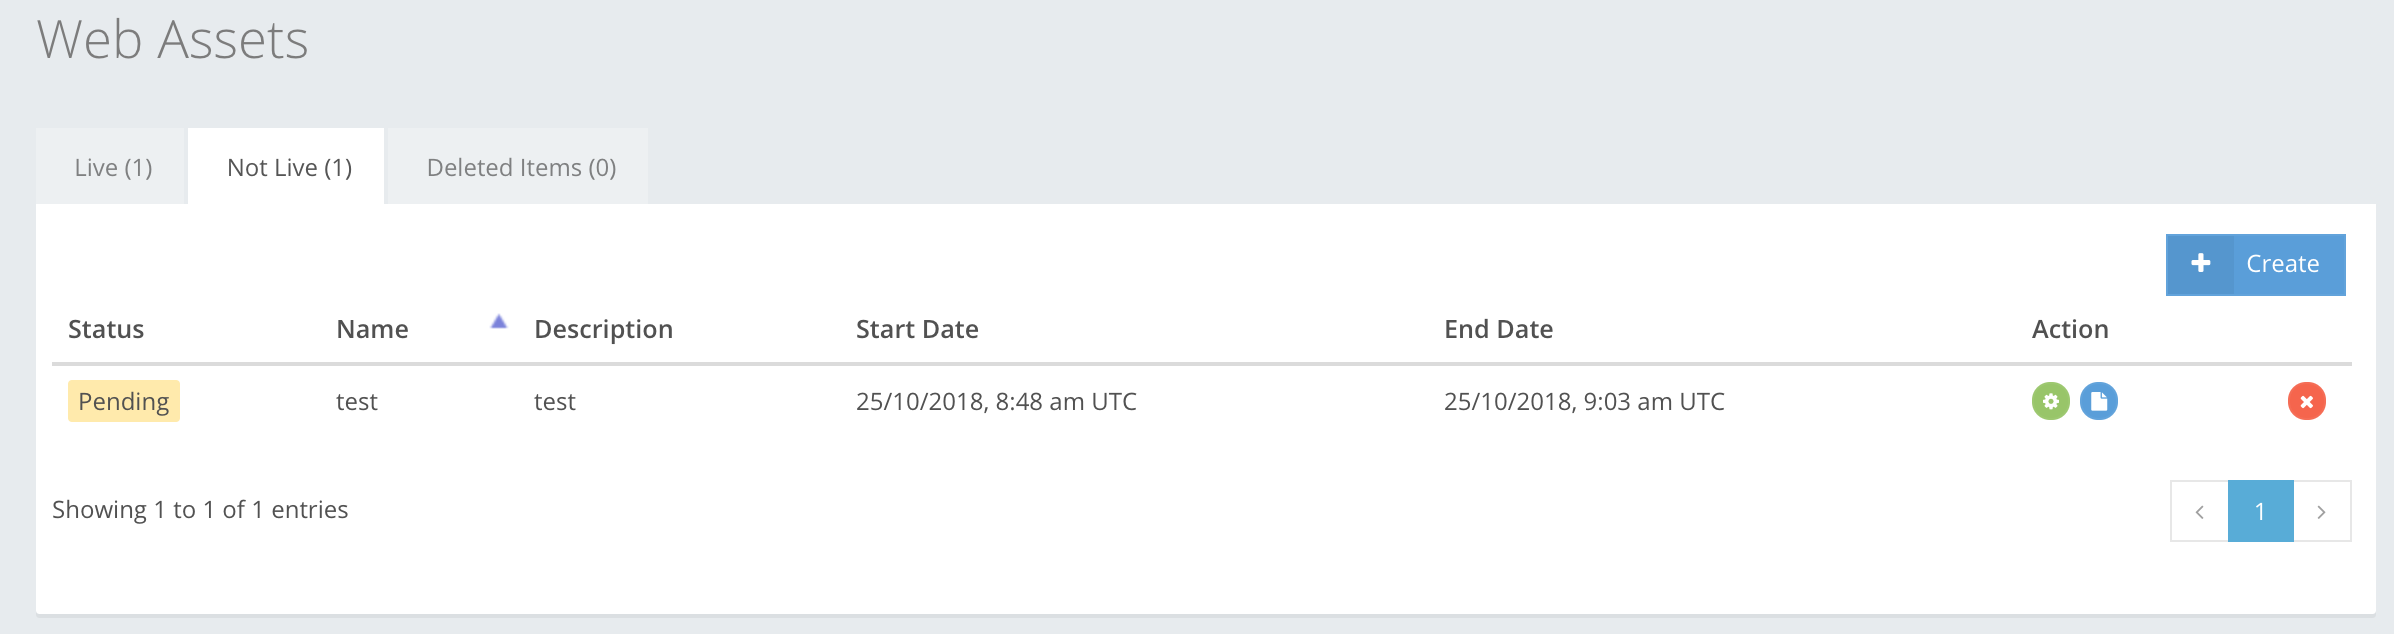
When a Web Asset is created, you can use the action buttons to edit the web asset and the files in it or to delete it. It doesn’t matter if the Web Asset is in Live or Pending state, it is always possible to edit it.